Getting Your Heat Right for Screen-Printed Safety Glass
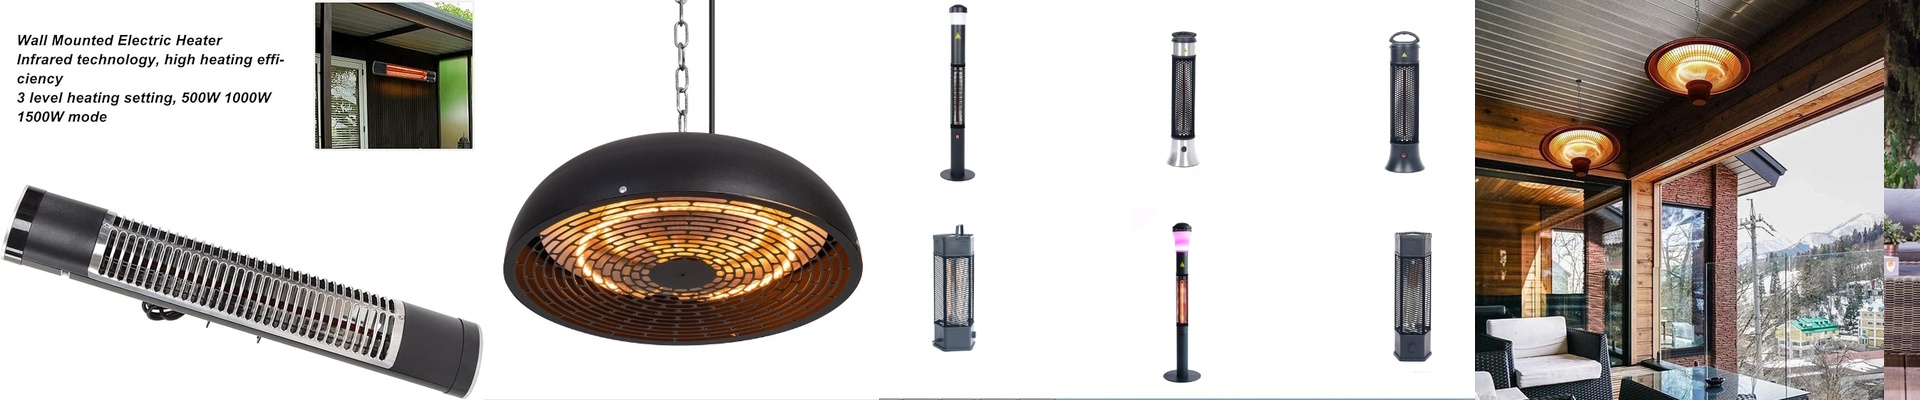
Here is the tricky part about combining screen-printing and tempering: they don’t naturally get along. You need enough heat to bake that ink into the glass, but if you go overboard or leave a cold spot, you’re in trouble. You’ll end up with blurry edges or, worse, the glass will shatter before it even hits the quench. To keep things from going sideways, we lean on short-wave infrared (IR) lamps. Hitting the sweet spot The goal is to get the glass up to its softening point fast—without scorching the ink. Short-wave IR is great because it punches through the surface quickly. We set these lamps for high heat density so the glass hits that 620°C to 650°C range while the ink cures. If you let the heat soak happen too slowly? The ink bleeds. Suddenly, your crisp pattern looks like a smudge. Setting up the lamps We usually go with high-wattage quartz lamps arranged in a staggered layout. Why? Because it kills the cold spots. But you have to be smart about your conveyor speed. If you want to move more glass through the line, you need more wattage. Just a heads-up: that puts a lot of pressure on your electrical panels. Make sure your wiring can handle the initial surge when the lamps warm up, or you’ll be spending your morning resetting breakers. The balancing act High-intensity IR is fast. Really fast. But that speed comes with a risk. If the glass hangs out under the lamps for a second too long, you’ll over-fire the ink. Precision is everything here. Even a tiny 10mm shift in the height of the lamp can swing your surface temperature wildly. The best way to handle this is to use a PID controller and a pyrometer. It gives you real-time feedback, which means you aren’t guessing. You get glass that’s strong enough to pass the fragmentation test without burning your ink to a crisp.