Getting the Temp Right in Glass Annealing
If you’ve ever had a piece of lab-grade glassware shatter for no apparent reason, you know the frustration. Usually, it’s because of internal stress that didn’t get neutralized. If your heating element drifts by just a couple of degrees, you’re basically gambling with stress fractures once the glass cools down. That’s why we use quartz infrared lamps. We’re aiming for a precision window of 0.1°C. It’s not about cranking up the heat—it’s about keeping it dead steady.
Dealing with Stress
Glass has a sweet spot, an annealing point where the viscosity is just right for those internal stresses to relax. Here’s the tricky part: if the lamp overshoots that temp, the glass can deform. If it undershoots? The tension stays locked in. Since these lamps use radiant heat instead of convection, they react instantly. We can tweak the power output on the fly to stay within that tiny 0.1°C margin.
The Gear and the Trade-offs
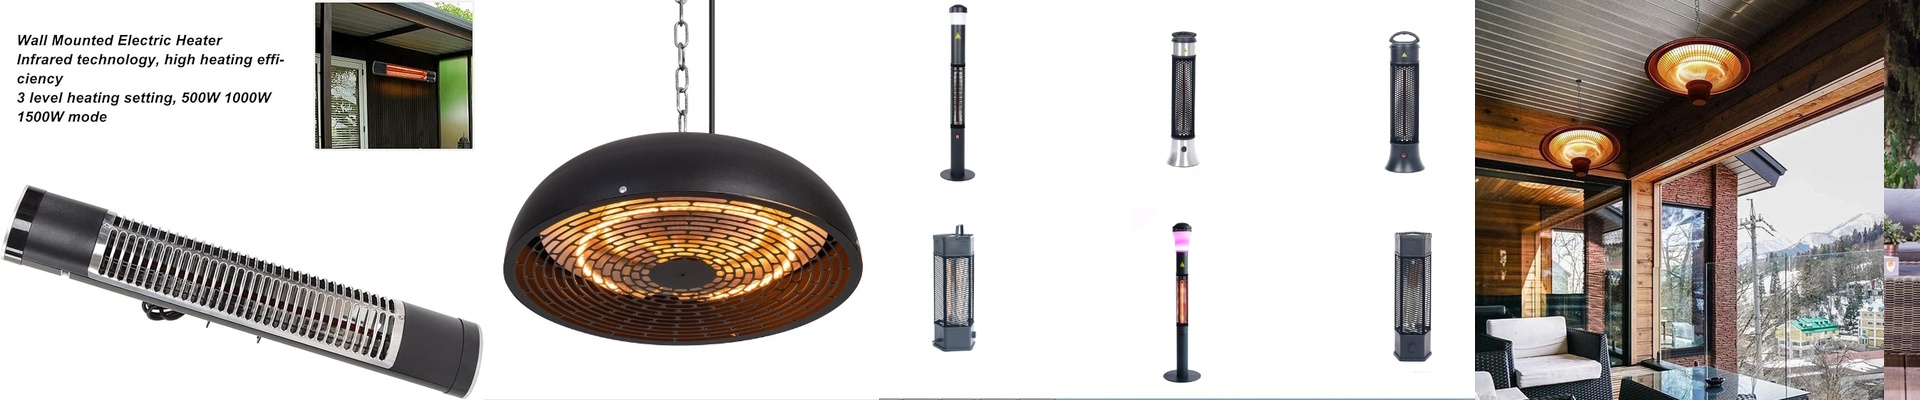
We build these lamps with high-purity quartz envelopes so the IR transmission is as clean as possible. Pair those with a PID controller and a high-frequency SCR, and you’ve got the tight control loop you need for the delicate stuff. But you have to be careful with power density. Sure, a high-wattage lamp gets you up to temperature fast. But if it’s sitting too close to the glass, you’ll get “hot spots.” Now you’ve just introduced the exact same stress you were trying to get rid of. It’s all a balancing act between the wattage and the distance to your workpiece to keep the heat even.
Real-World Setup
These lamps are designed to slide right into your existing oven arrays without a fuss. We’ve added reinforced end-caps to keep gas from leaking and to make the filaments last longer. One big warning, though:quartz hates skin oils. If your team touches the glass while installing them, the lamp will almost certainly burn out right where the fingerprint is. Tell them to wear gloves, or just give the tubes a quick wipe with IPA before you flip the switch.